Before removing the tusk from the AMLI Residential construction site in South Lake Union, Burke paleontologists made it a “field jacket.” First, they covered the tusk in aluminum foil. Then, they added layers of burlap strips soaked in water and dipped in plaster. Then they placed 2x4’s along the tusk and added more layers of plaster-dipped burlap. Once the plaster dried, the tusk was ready to make the trip to the Burke Museum.
Burke paleontologists got the tusk out of the ground safely (hurrah!) and to the museum in about a day and a half on Feb. 13 and 14, 2014. But that was just the beginning.
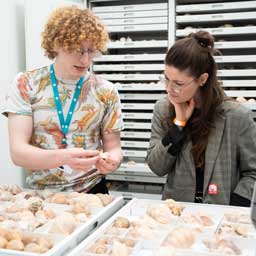
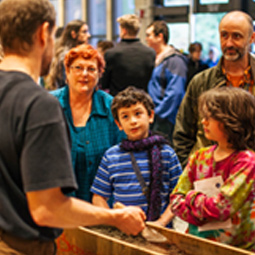
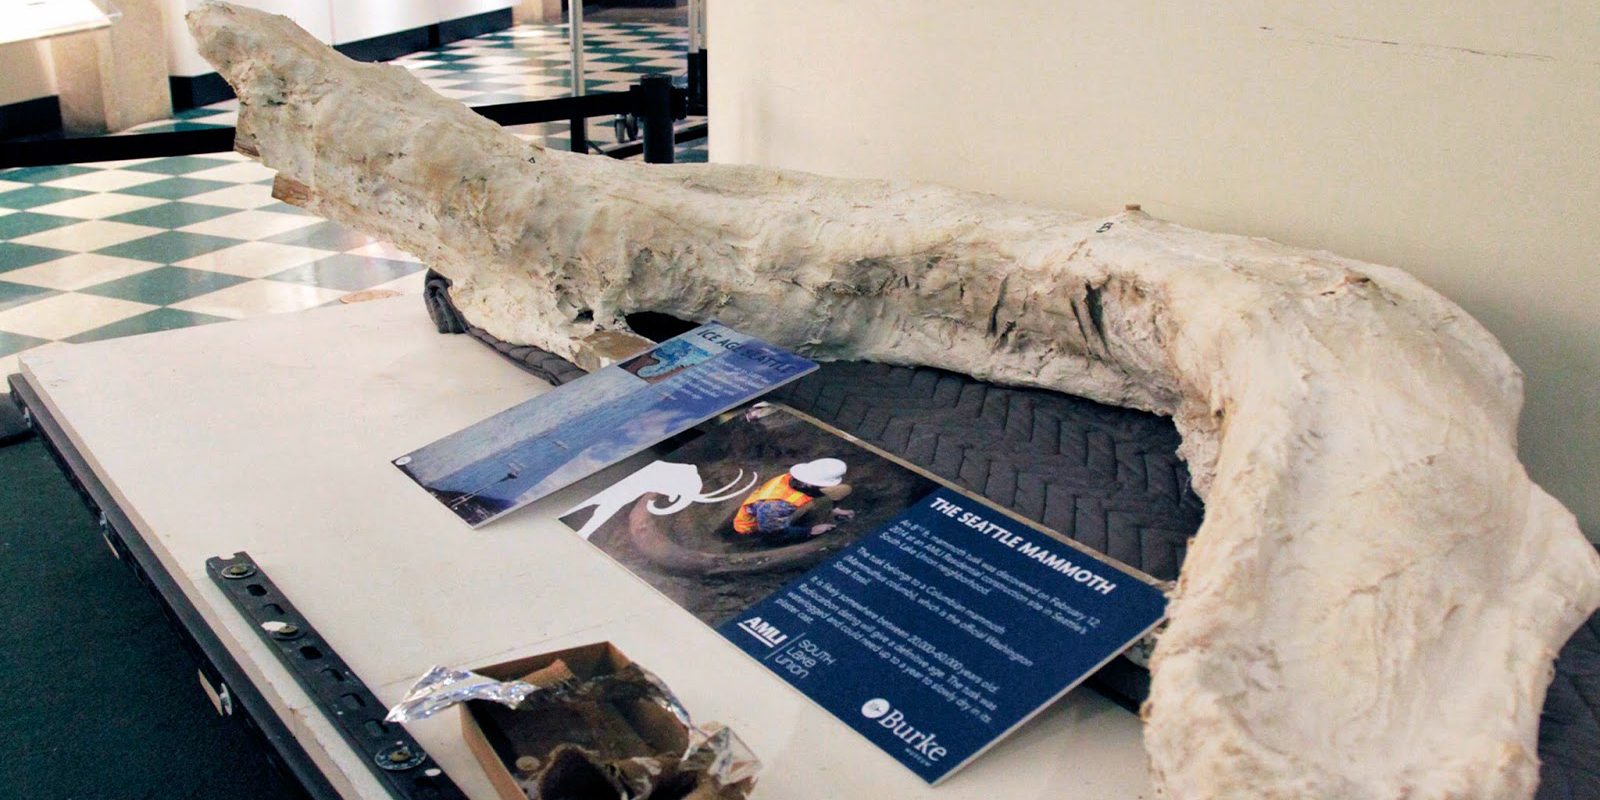
Step 2: Give the people what they want
The tusk made its public debut on March 8, 2014 at the Burke Museum's Dino Day, where one side of it was visible. After that, it will be fully encased in plaster (see step 3).
Step 3: Button it up
Drilling a hole to remove a sample for carbon dating.
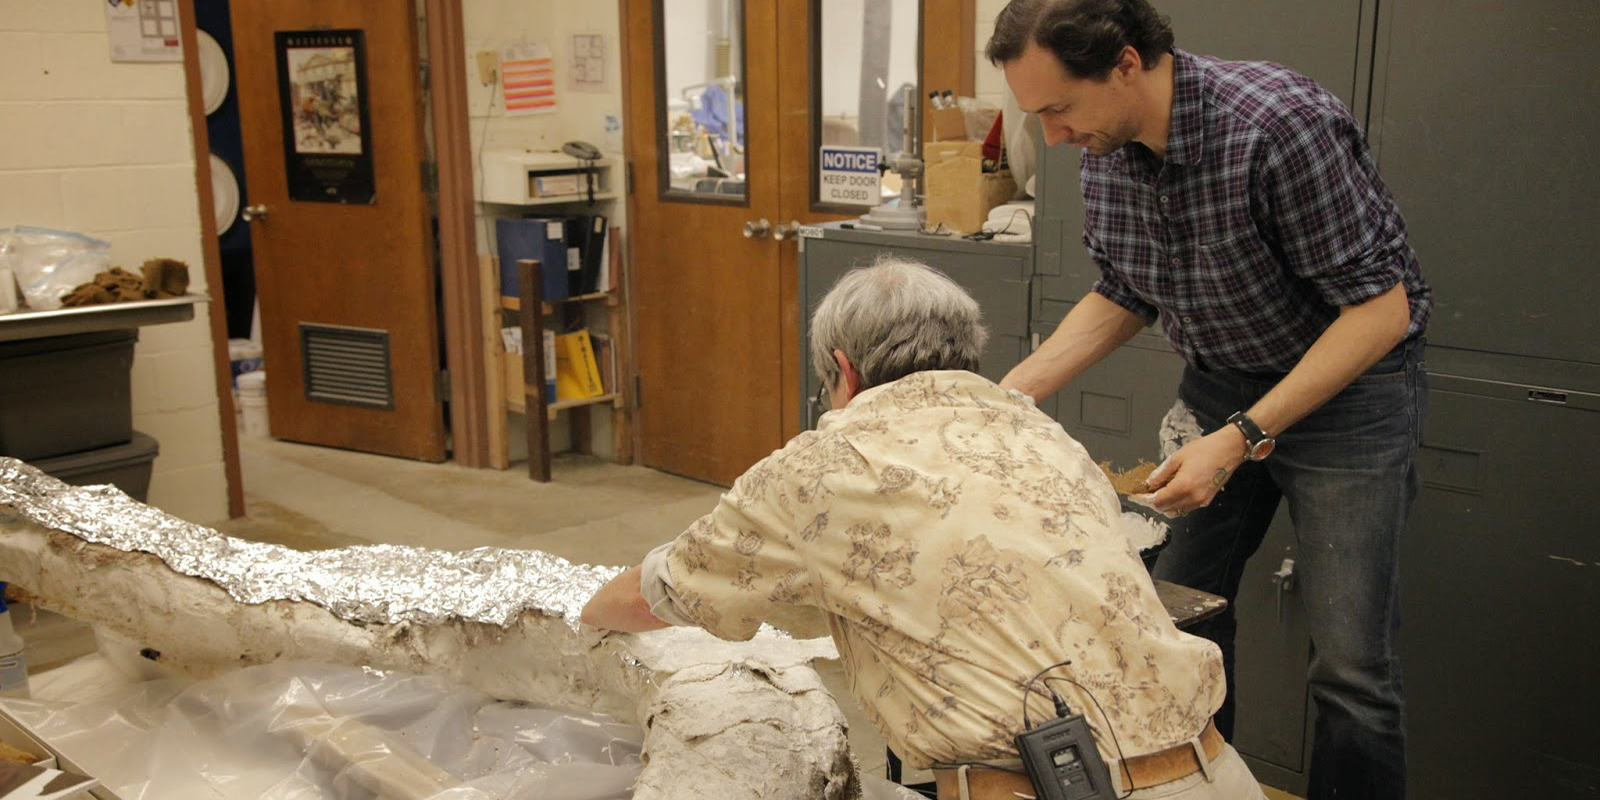
Covering the second side of the tusk in plaster.
Carbon dating can tell us exactly how old the tusk is—BUT, it’s not as accurate without samples from both sides of the tusk. Taking a sample from the bottom of the tusk will have to wait until it’s fully dry (see step 4).
Step 4: Let it dry

The plaster is porous enough to let moisture escape, but it ensure the process of drying will happen very, very slowly so the tusk doesn’t crack and break apart. Burke paleontologists will measure the humidity with a special gauge (similar to a thermometer), inserted into the plaster jacket through hand-made “ports” (ingeniously created from halved whiffle balls and cork!). Once the humidity consistently measures that of the Burke Museum building, the tusk can be unwrapped and prepared for display.
Step 5: Stay tuned
Researchers could learn a lot from the tusk, and the soil samples that were taken during its excavation. The latest information will be published on the Burke Blog as soon as it’s available! For more information about the tusk, mammoths, and the world in which they lived, visit seattlemammoth.org.